OK, Let’s Do Something with Empyrean!
Once you have installed the Arduino IDE and board support for Empyrean, you’re ready to try your first sketch so that you can test that everything is working correctly. We’ll use a simple sketch that will use the PWM feature of a GPIO pin to repeatedly fade and brighten the built-in blue LED on pin 13. Download this sketch or alternately copy it from below.
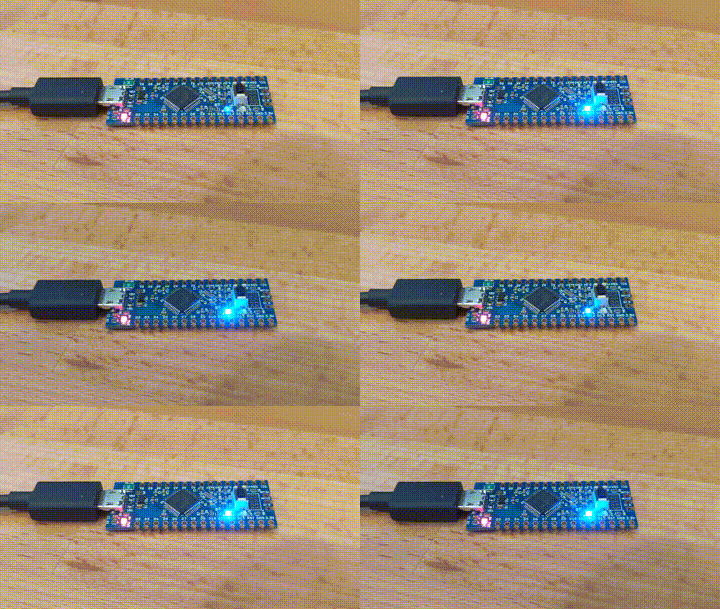
Open up the FadeEmpyrean.ino sketch in the Arduino IDE and then plug Empyrean into your PC. Be sure to select Empyrean (on the proper serial port) in the Tools > Boards menu. Now use menu command Sketch > Upload (or alternately Ctrl-U or the arrow icon below the menu) to compile the sketch and upload it to Empyrean. If the compliation and upload was successful, in a few seconds you will see Empyrean reset and then start executing the sketch, which will look like this:

If code upload looked successful but you don’t see the LED fading, then try pressing the reset button on Empyrean a single time to force it to reset and execute the sketch.
Code
/*
 Fade

 This example shows how to fade an LED on pin 13
 using the analogWrite() function.

 The analogWrite() function uses PWM, so if
 you want to change the pin you're using, be
 sure to use another PWM capable pin. On most
 Arduino, the PWM pins are identified with
 a "~" sign, like ~3, ~5, ~6, ~9, ~10 and ~11.

 This example code is in the public domain.
 */

int brightness = 0;    // how bright the LED is
int fadeAmount = 5;    // how many points to fade the LED by

// the setup routine runs once when you press reset:
void setup()
{
  // declare pin to be an output:
  pinMode(LED_BUILTIN, OUTPUT);
}

void loop() {

  // set the brightness of pin:
  analogWrite(LED_BUILTIN, brightness);

  // change the brightness for next time through the loop:
  brightness = brightness + fadeAmount;

  // reverse the direction of the fading at the ends of the fade:
  if (brightness <= 0 || brightness >= 255)
  {
    fadeAmount = -fadeAmount;
  }

  // wait for 30 milliseconds to see the dimming effect
  delay(30);
}